Red and Yellow Floral Pinwheel
Red and Yellow Floral Pinwheel wall art closeup
Red and Yellow Floral Pinwheel

Red and Yellow Floral Pinwheel

Regular price $168.00
/
Shipping calculated at checkout.

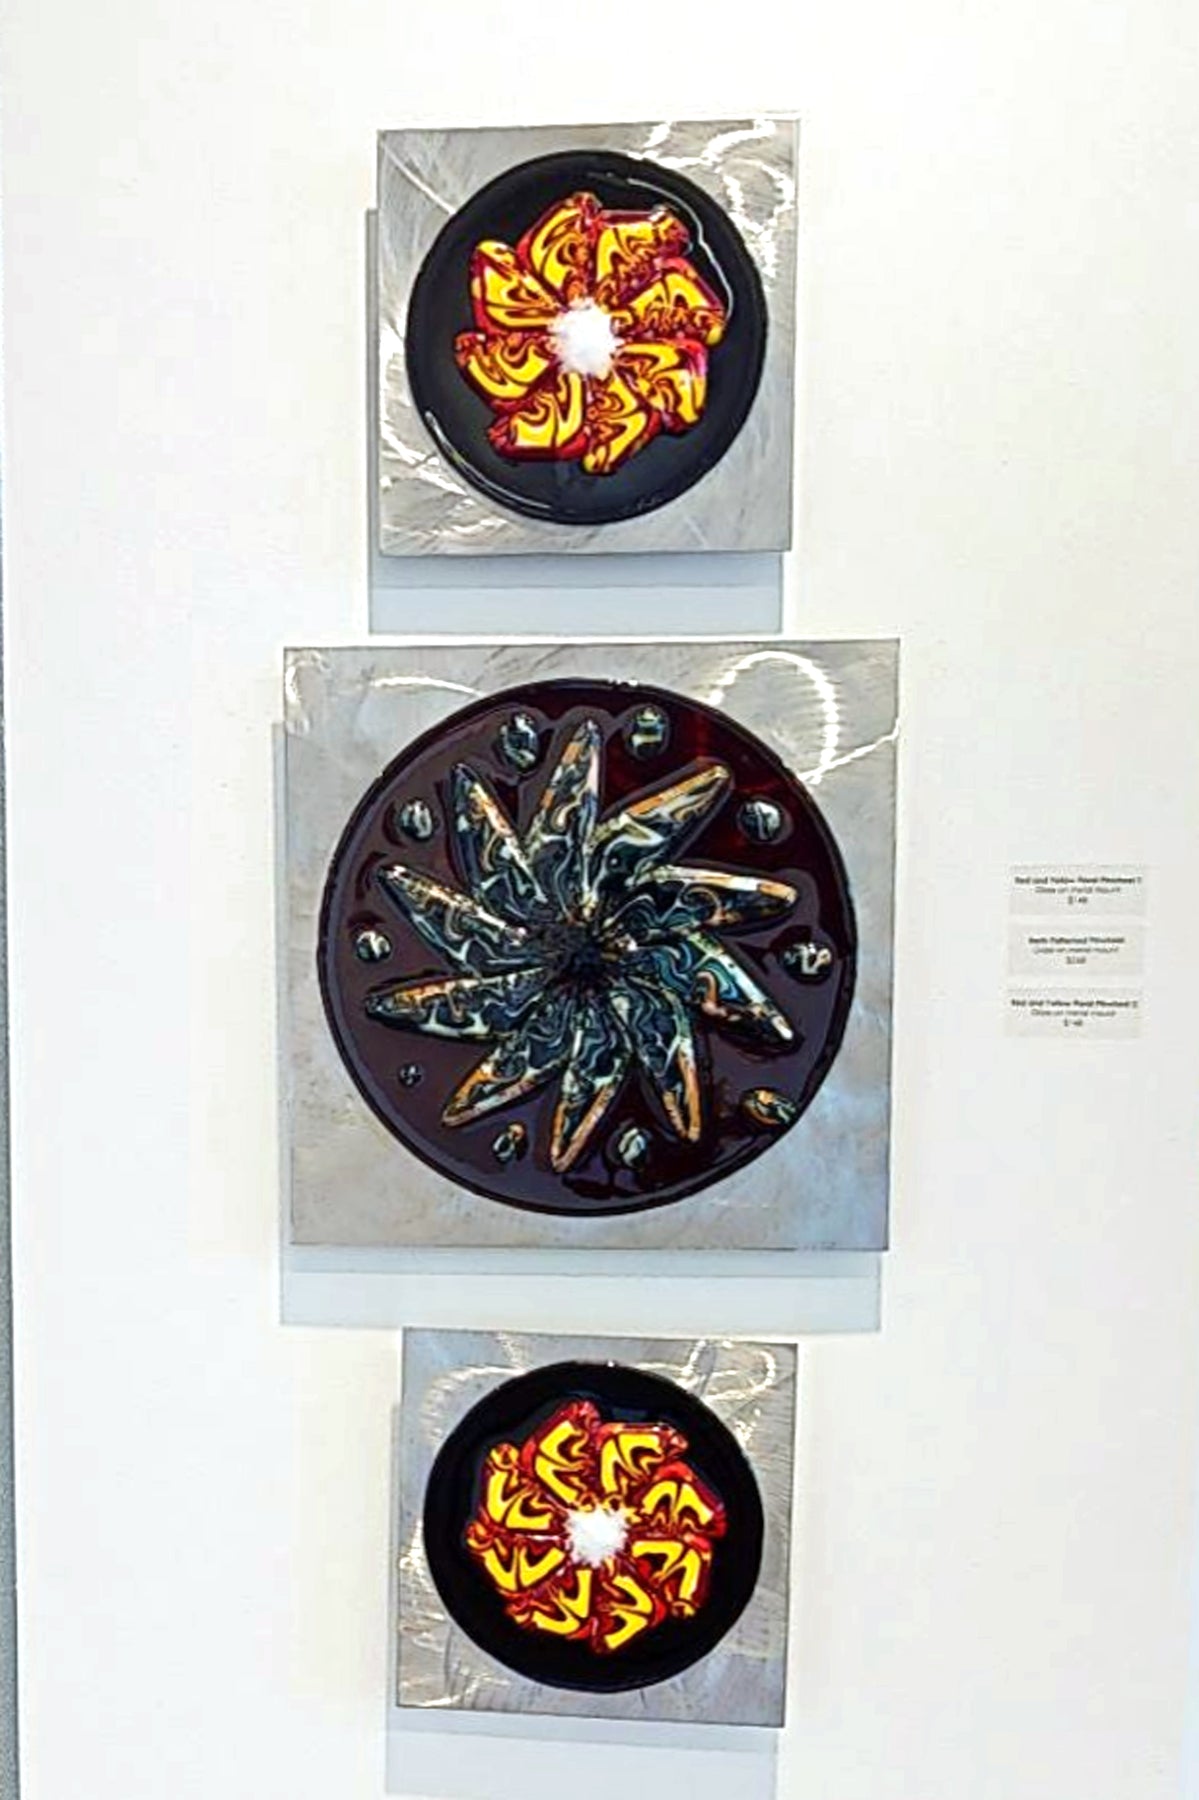
Inspiration: We have pinwheel spinners around our patio to discourage birds from coming in under our deck.  they are colorful and mesmerizing.

Artistic Process:

Both artworks were made at the same time.  
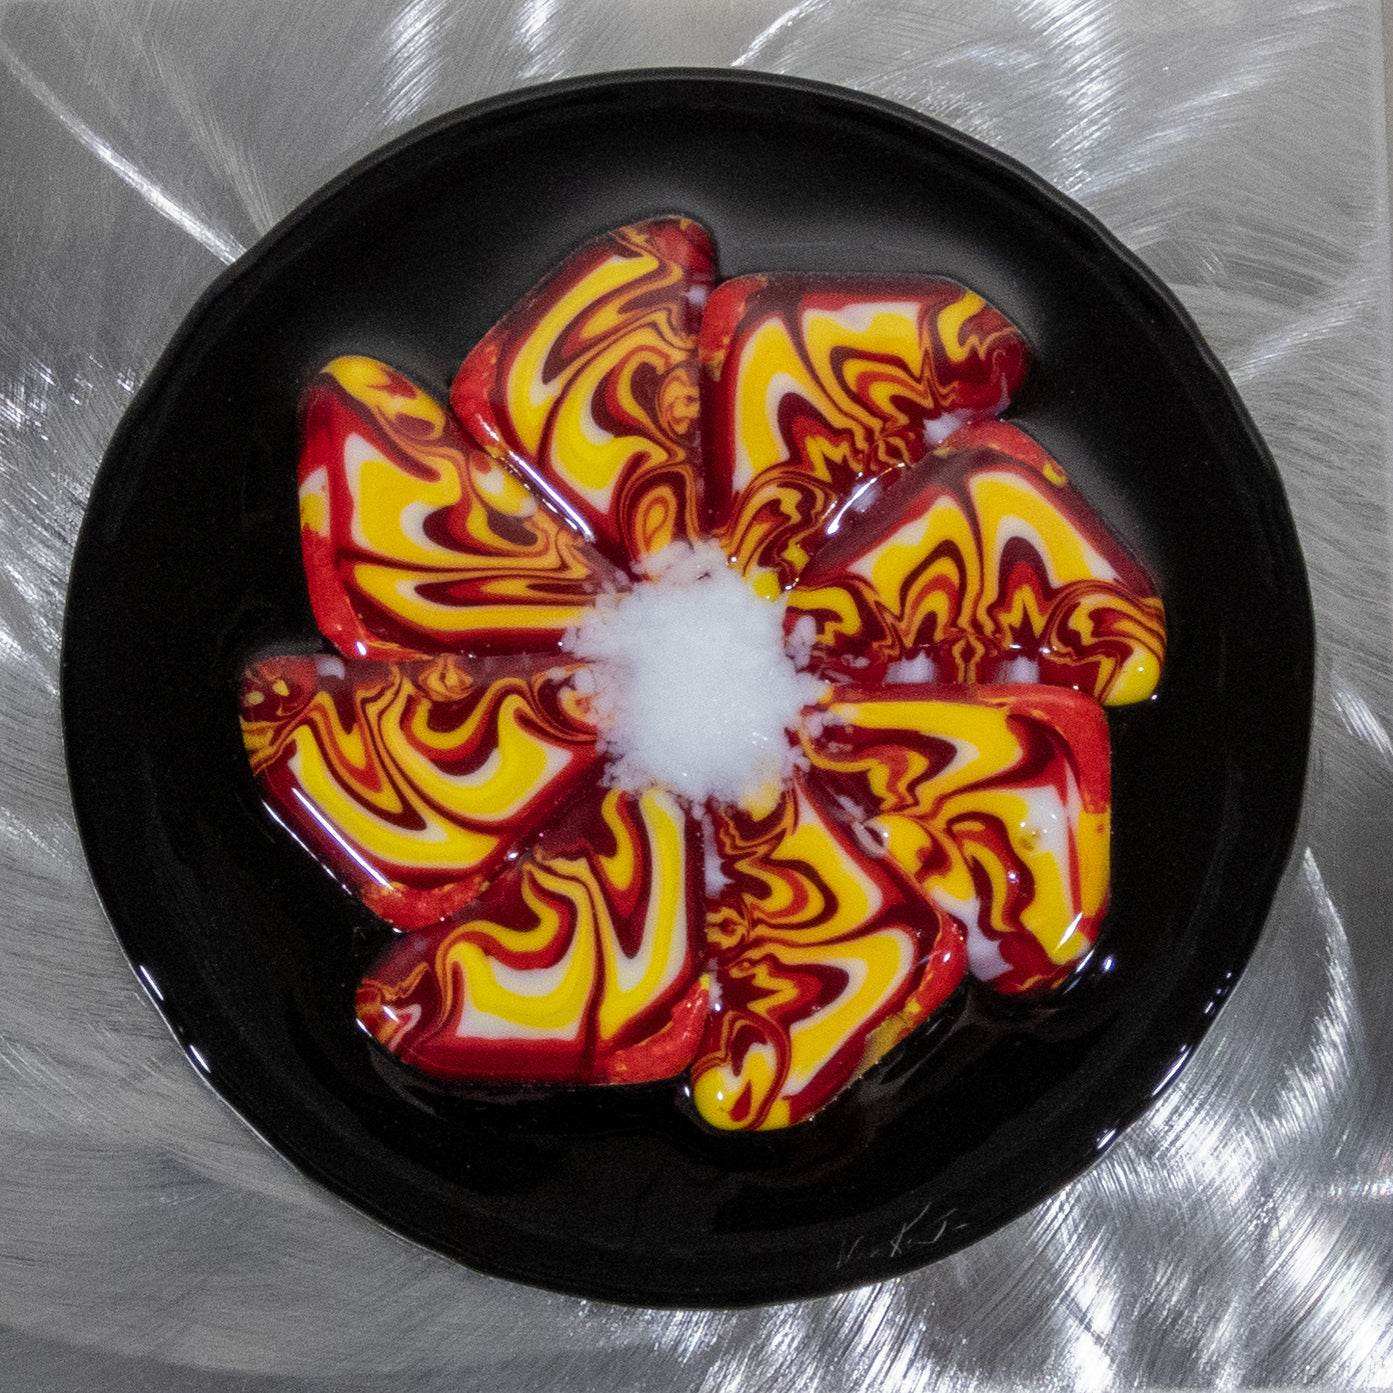
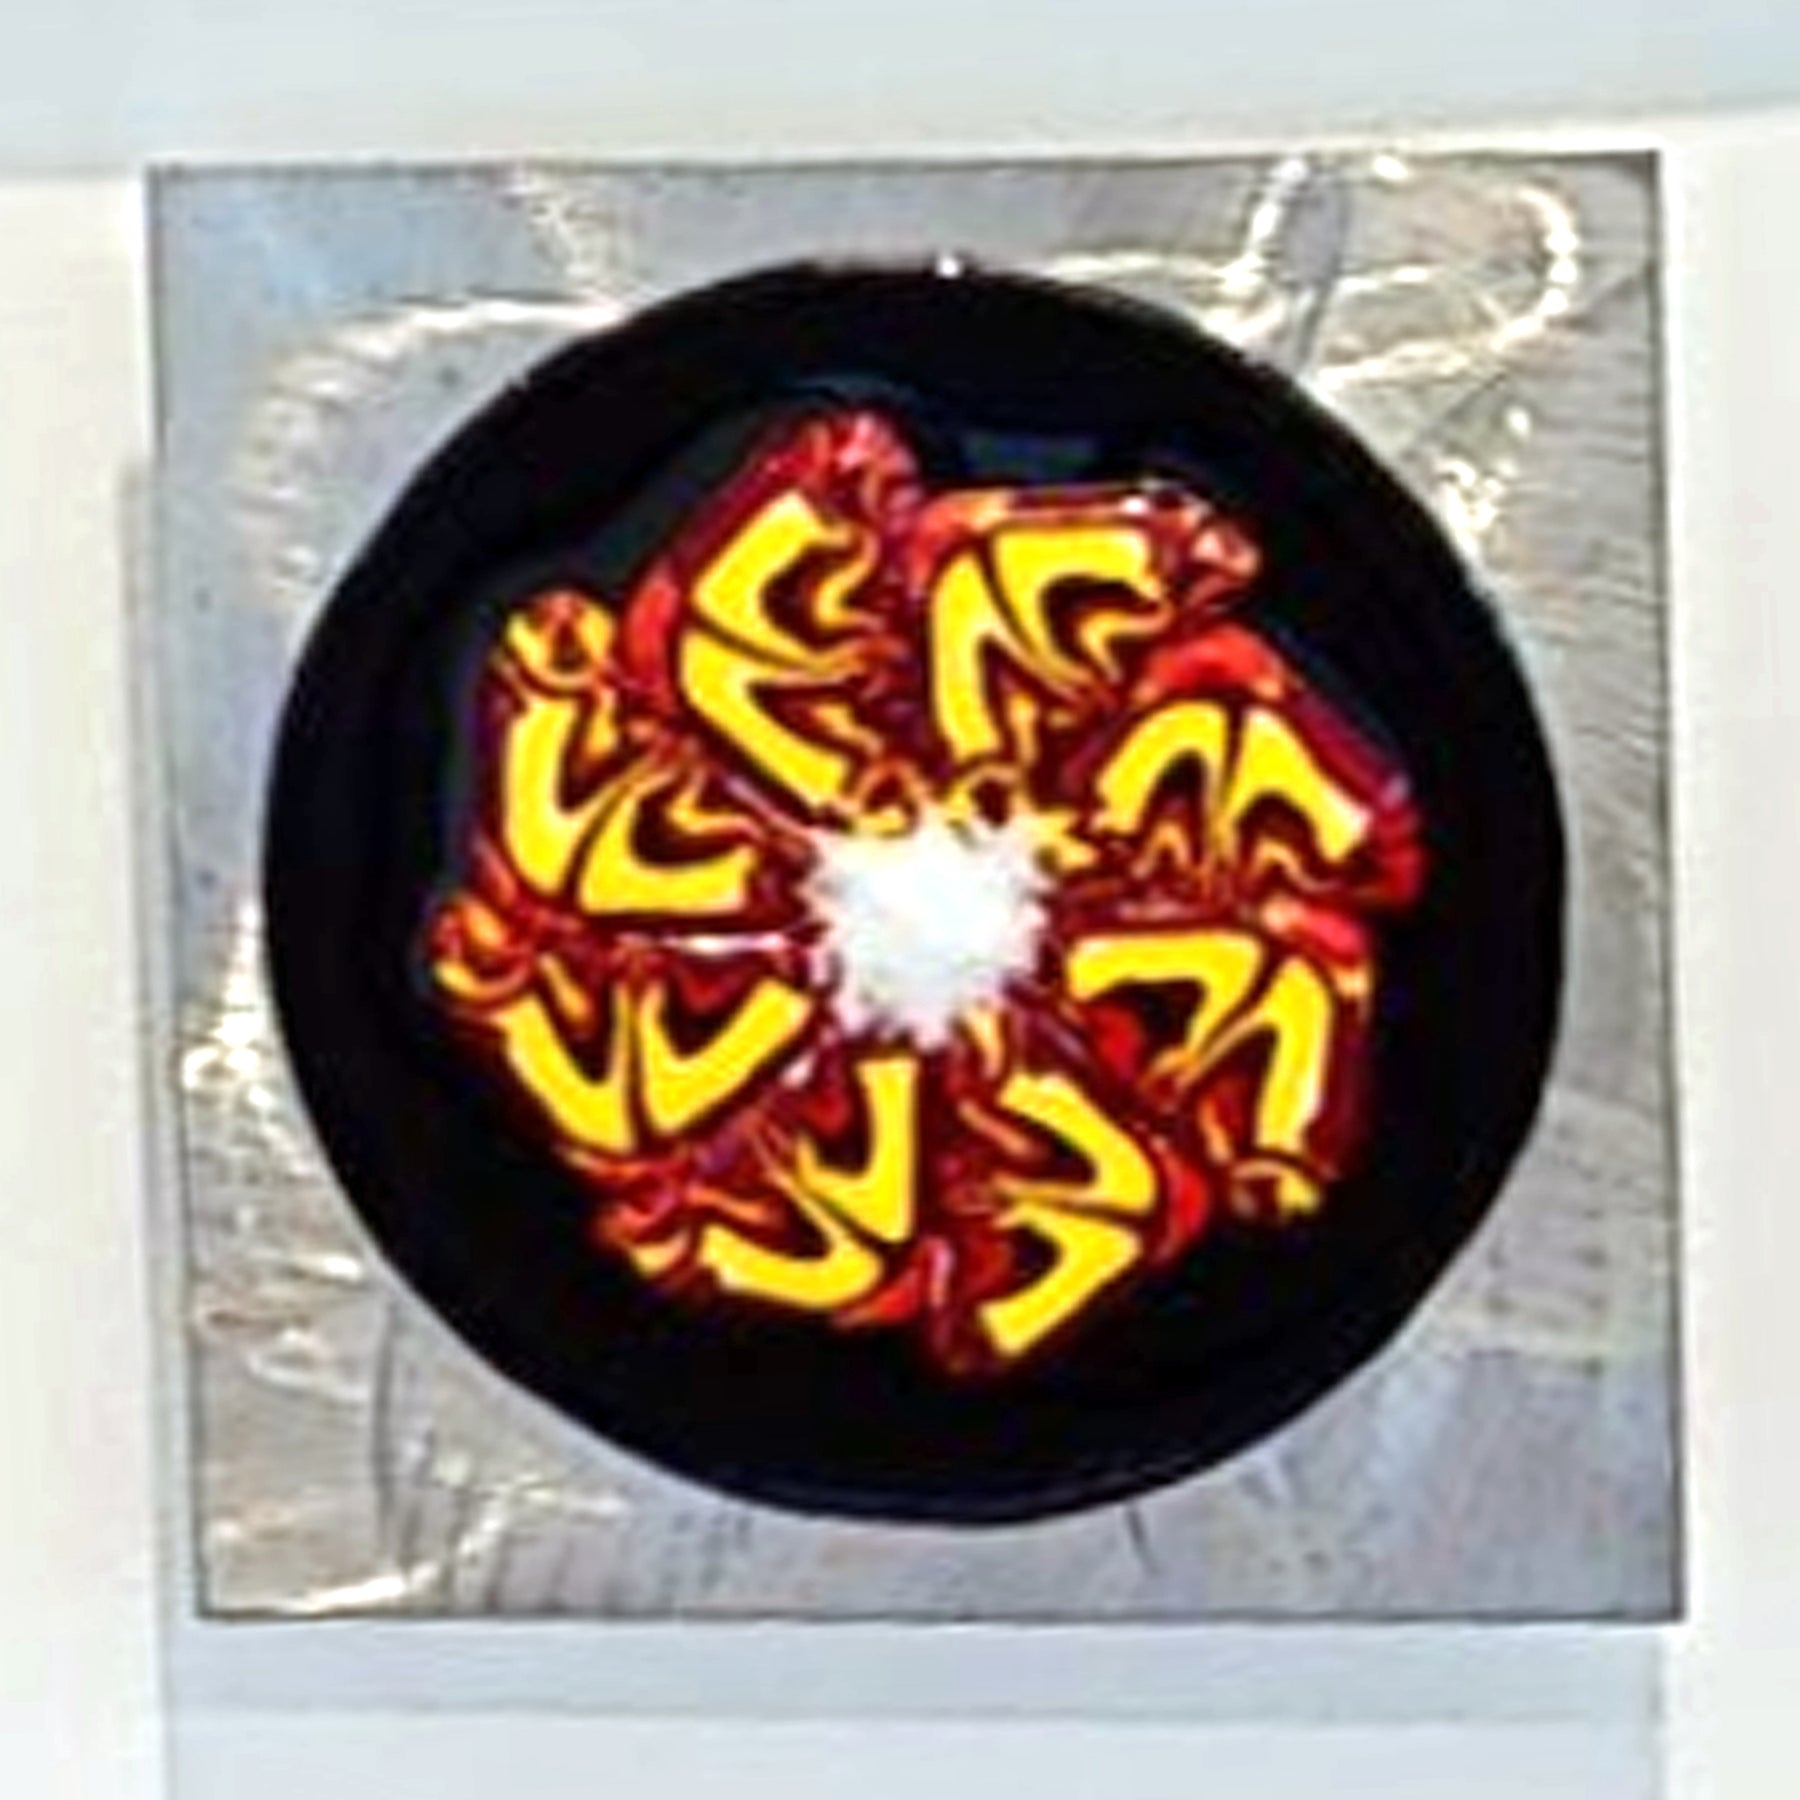
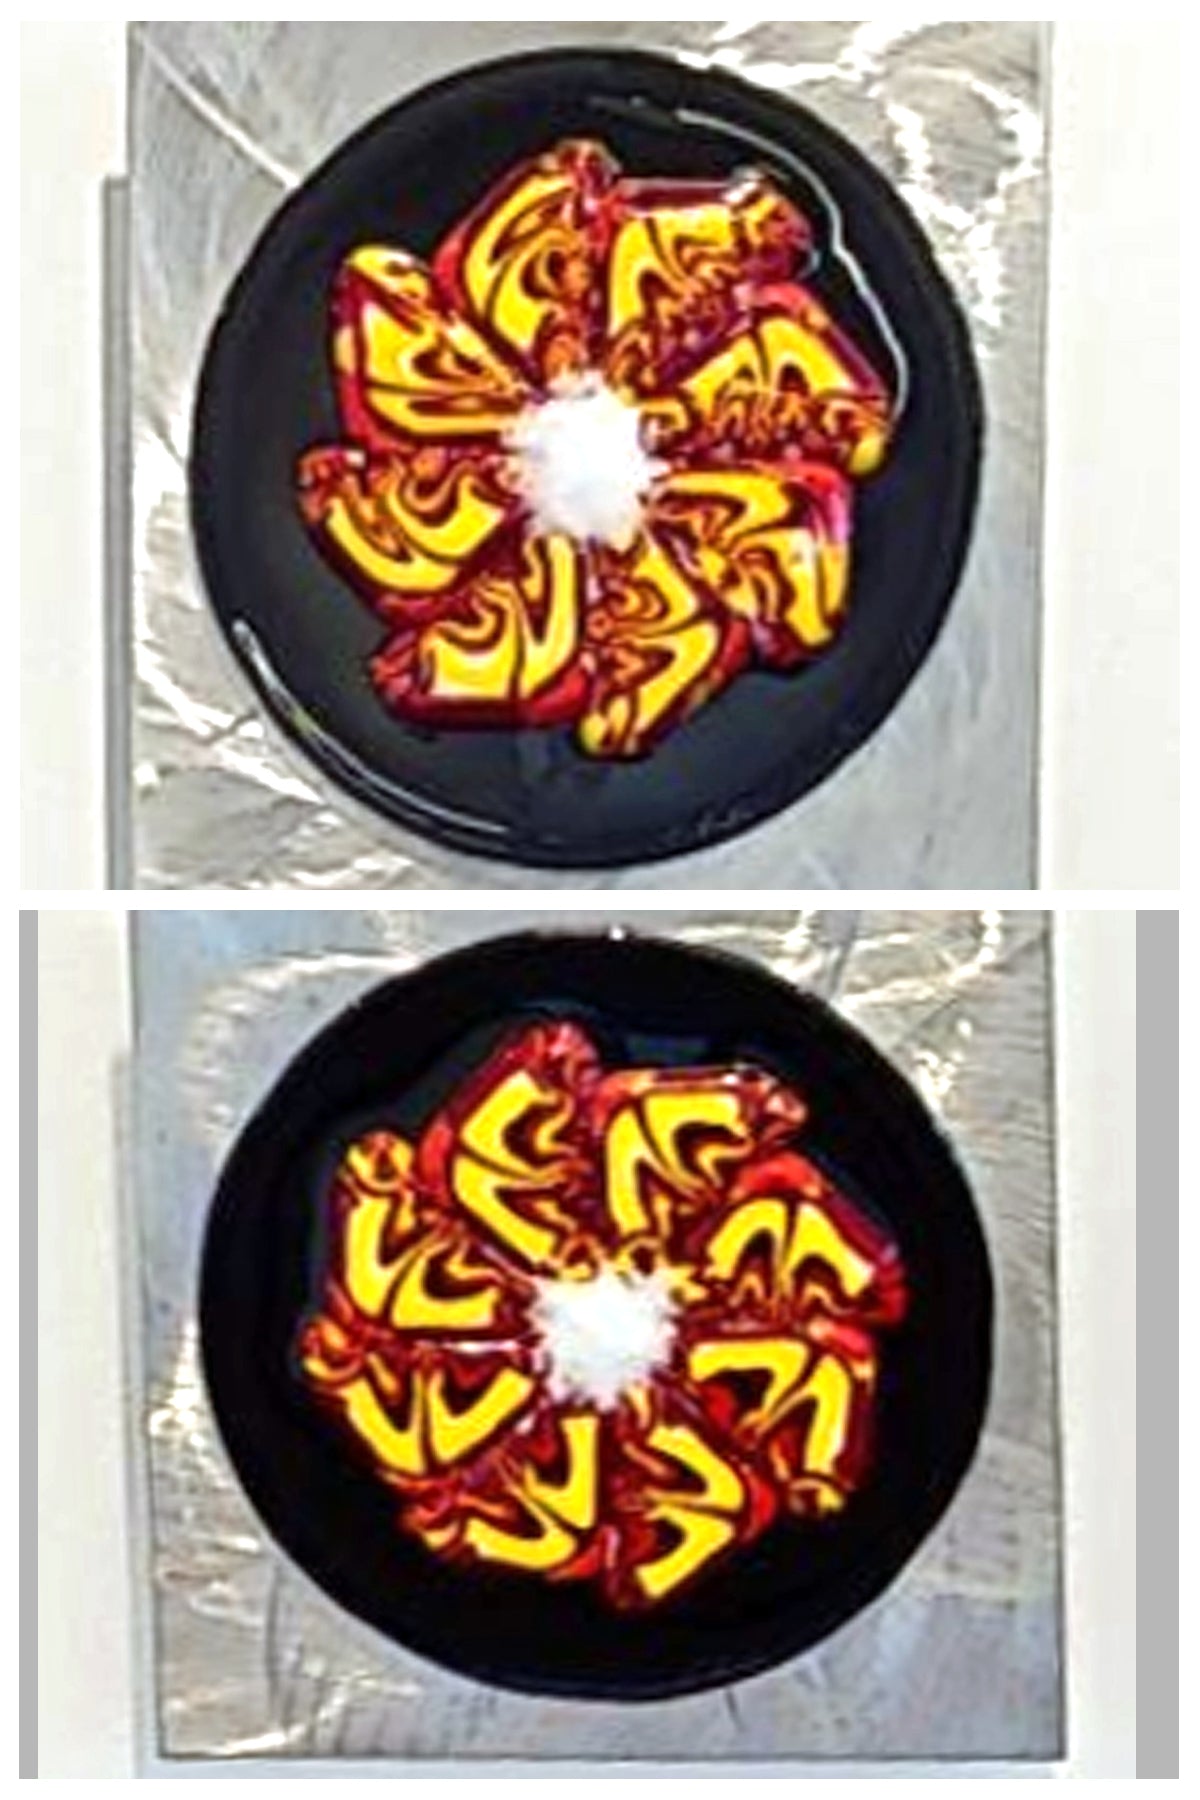
The background is 2 cut transparent glass circles fused together first, then the pinwheel  "petals" and center were tack fused in a separate firing for texture and dimension. 

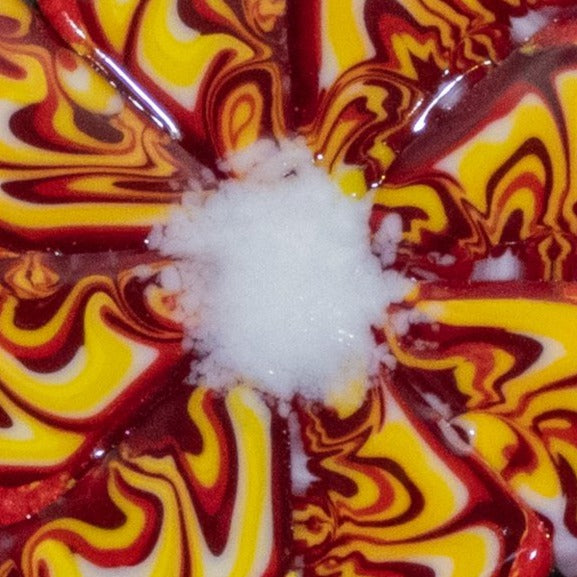
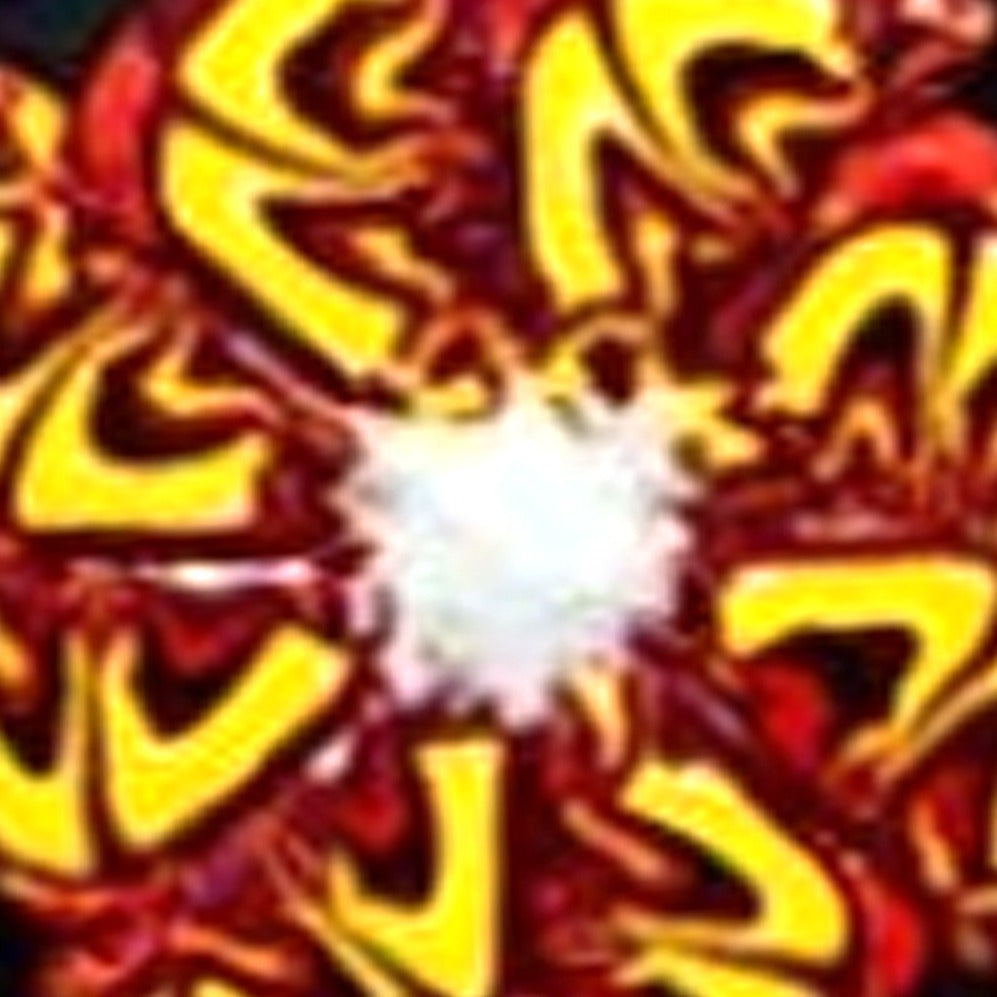
The "petals" are made with pattern bars that are assembled into a pinwheel design.  See Below for an explanation of a pattern bar.   The center is made with ground glass.  

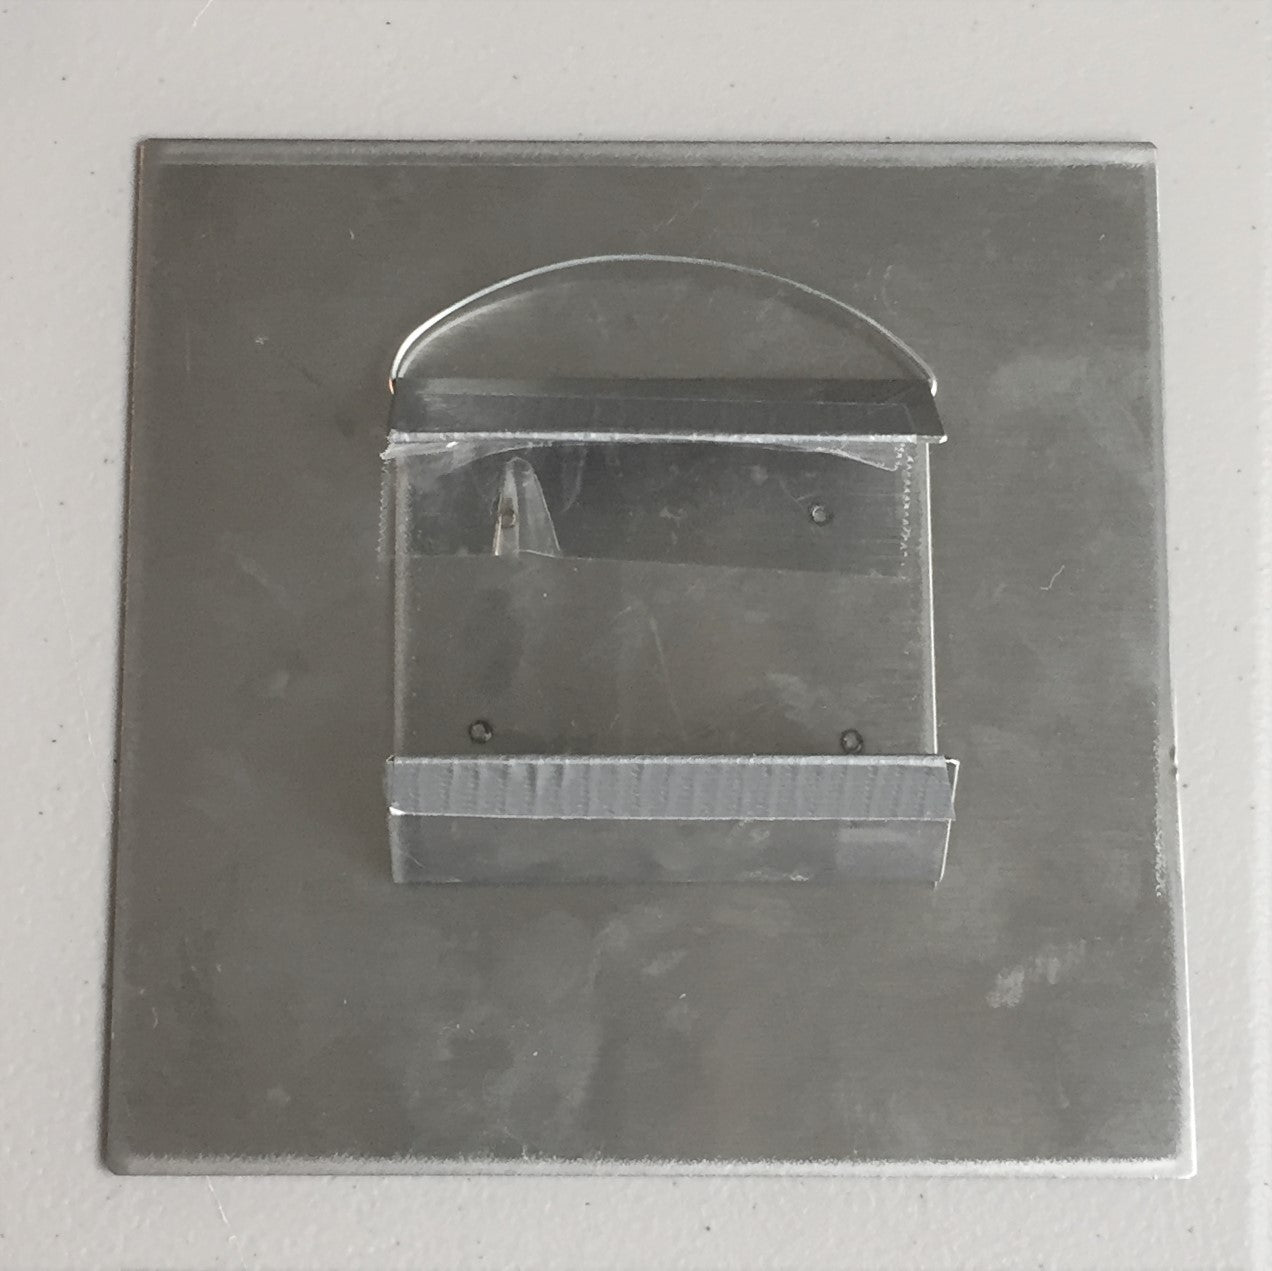
The artwork is mounted on brushed stainless steel, wired for hanging with welded brackets to keep the artwork flat and straight on the wall with no tilting.

Dimensions:  8" wide x 8" tall x 2.25" deep

Making Pattern Bars

It takes several steps and kiln firing along with coldwork to make the pattern bars used to make this abstract art. 

  1. My goal is to create organic flow of colors and patterns, so I start with my color choices and cut the glass to various sizes.
  2. The glass is stacked in a predesigned order on top of steel rods that are above a stainless steel form, in this case, an obtuse triangle shape.
  3. I use a specific kiln fusing schedule to melt the glass, avoid bubbles and get an organic flow.  As the temperature in the kiln rises above 1500 degrees the glass will begin to melt and flow organically and fully flow through the rods at 1680 degrees Farenheit. It flows into the former which contains it and it gets very thick. 
  4. After annealing, the pattern bar is thick and long.  I first grind all the edges smooth on a lap grinder.  The hot temperatores and containment against the fiber paper lining the former cause the edges to be rough. 
  5. Then I slice the pattern bar with a tile saw. By keeping the slices in order, I can match up the slices into patterns. After slicing I study the patterns and shapes and determine how I want to incorporate them into art.
  6. Once I have decided on a design, I cut any additional glass required and assemble in the kiln for the next firing that fuses the pattern bars together.